Acoustic Guitar Build
Note: This project is a work in progress, so I'll be posting updates as I go.
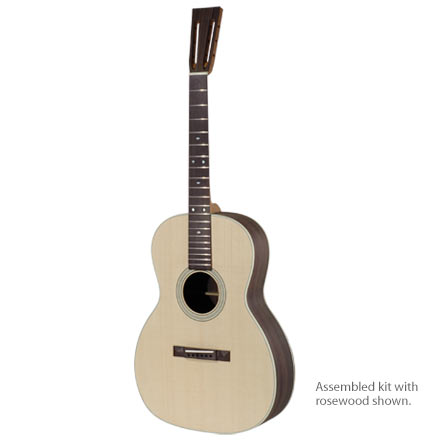
I've always been fascinated by woodworking, especially lutherie. After toying with the idea for some time, I finally decided to build my very own acoustic guitar. I wasn't sure where to begin, so I did some research and finally settled on using the "Triple-O" acoustic guitar kit from Stewart MacDonald (link here). This kit gives you the opportunity to get experience building a beautiful guitar that you can call your own without having to do some of the harder, more technical parts (bending the sides, carving the neck, etc.)
I've always been fascinated by woodworking, especially lutherie. After toying with the idea for some time, I finally decided to build my very own acoustic guitar. I wasn't sure where to begin, so I did some research and finally settled on using the "Triple-O" acoustic guitar kit from Stewart MacDonald (link here). This kit gives you the opportunity to get experience building a beautiful guitar that you can call your own without having to do some of the harder, more technical parts (bending the sides, carving the neck, etc.)
stewmac.com
Assembling the Body
To begin assembling the body, the pre-bent sides of the guitar were glued to the neckblock and tailblock. To prevent damaging the rosewood sides while they were clamped for gluing, I made clamping "cauls" from scrap wood pieces. I sanded the cauls to match the side curvature and then proceeded to glue the body together.
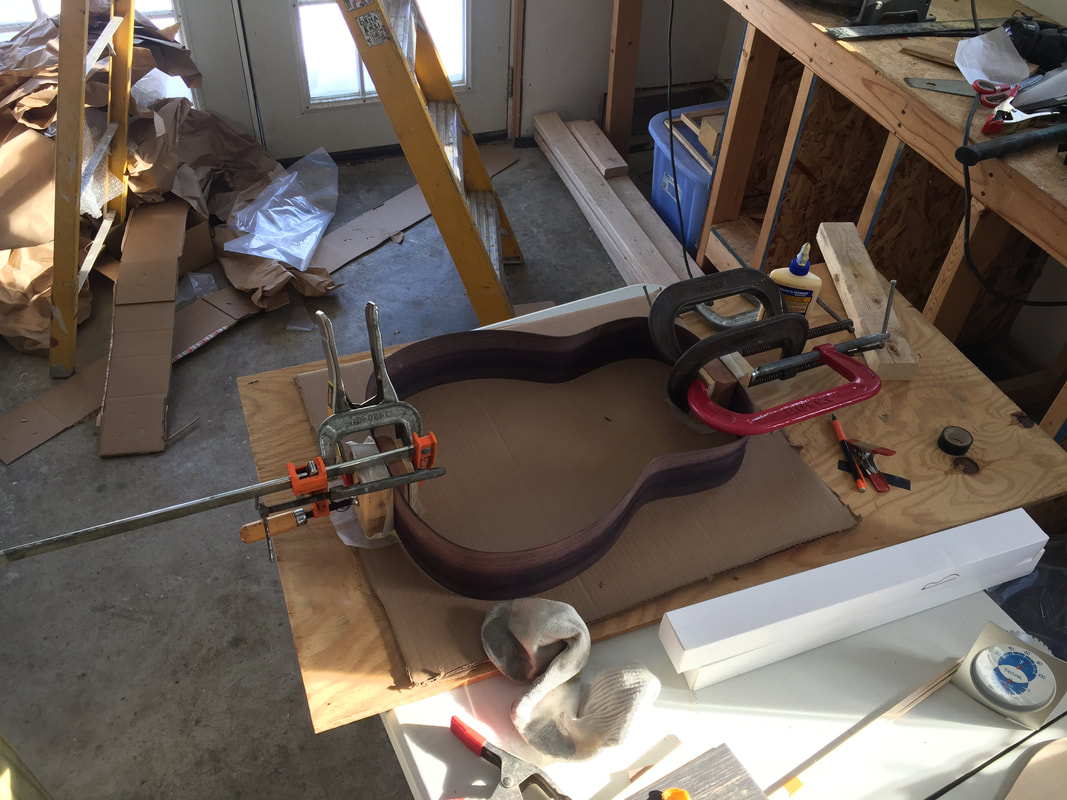
Gluing the body together
The next step was to install the soundhole rosette. The rosette for this guitar consisted of three herringbone strips. Channels were factory-routed in the spruce top, so I simply had to trim the rosette strips to fit and glue them into place. This sounds simple, however, it actually took quite a bit of time because this is a part of the guitar that defines the look of the instrument.
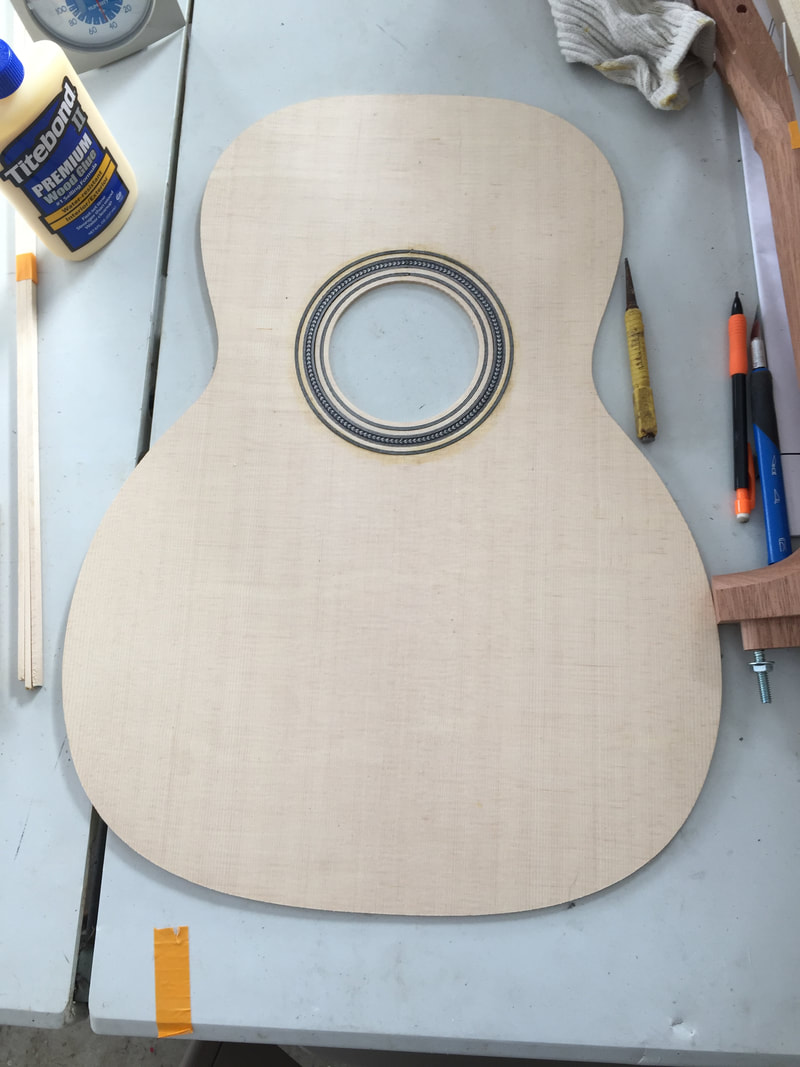
Installed rosette
To glue the top and back of the guitar to the sides, notched strips of wood, called "kerfings" are glued to the edges of the sides in order to create a fastening edge. The kerfings were test-fitted and trimmed to fit and then glued to the sides. Clothespins were used to clamp the kerfings while they were being glued.
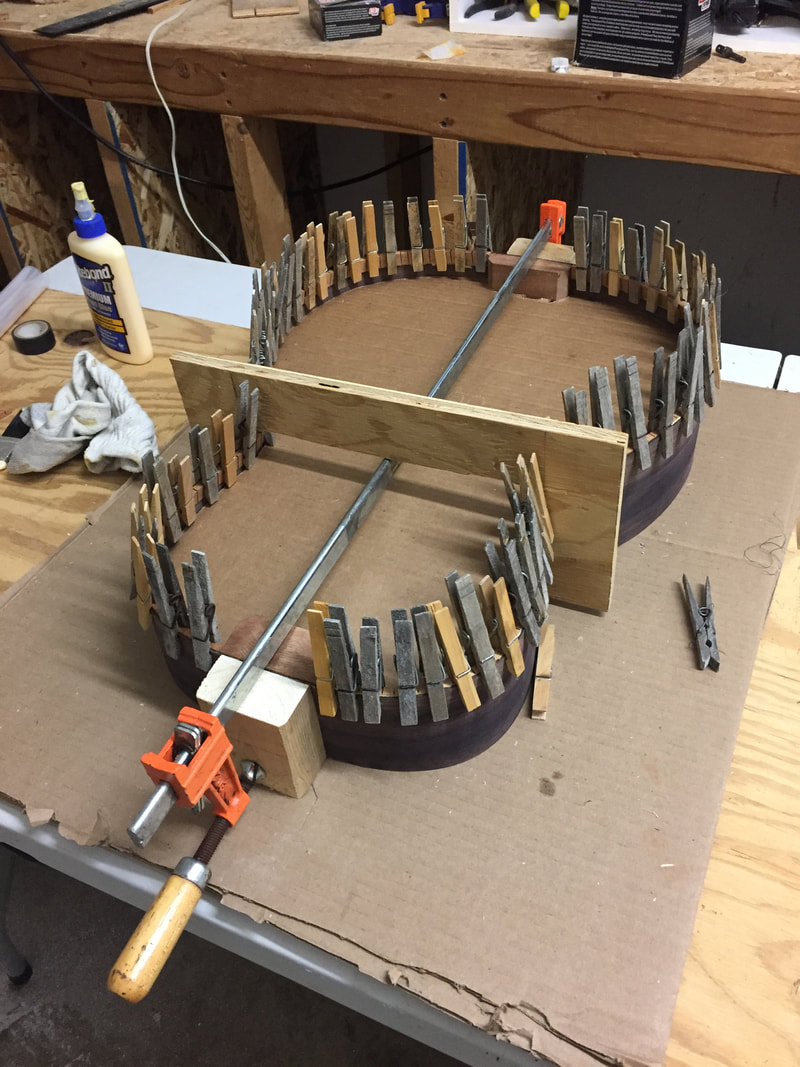
Gluing the kerfings
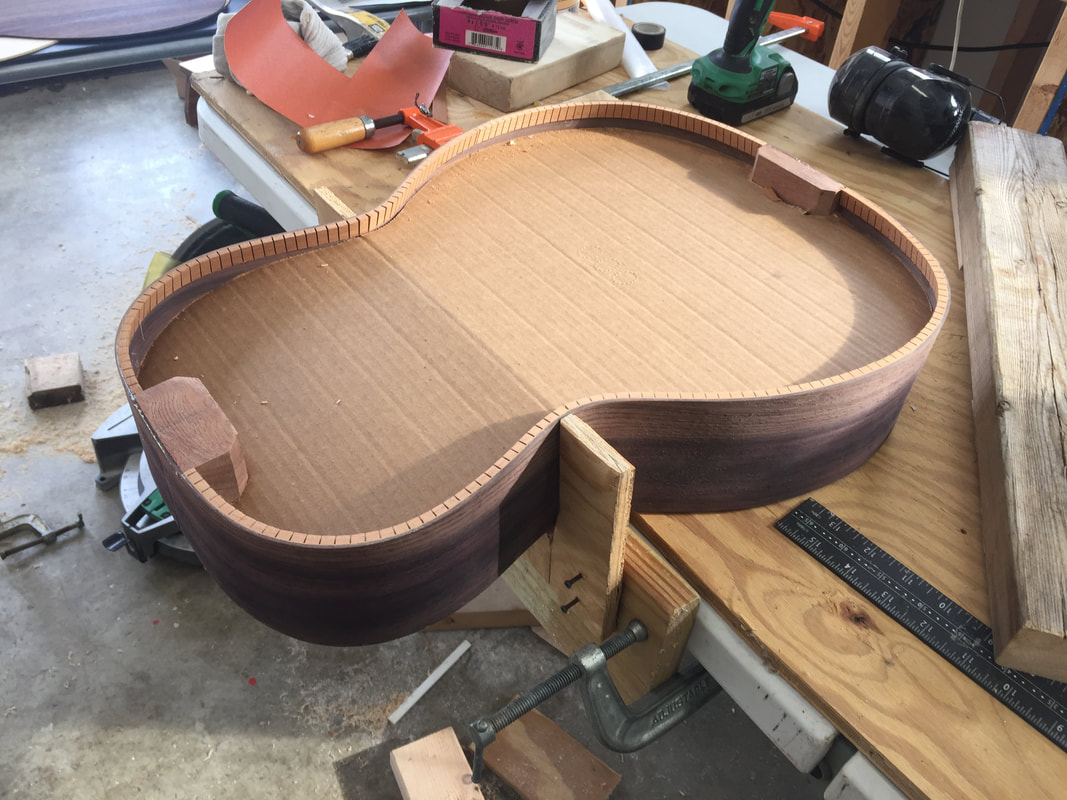
Completed kerfings
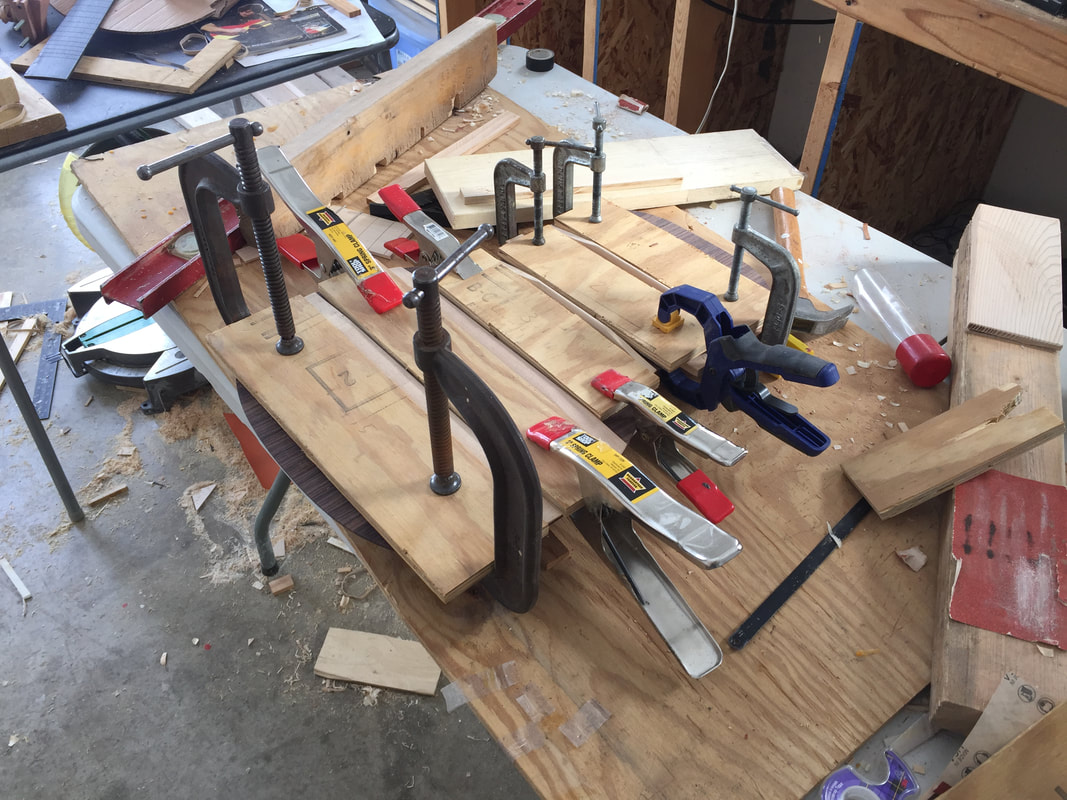
Soundboard Bracing
A fully-strung acoustic guitar experiences around 200 lbs of pressure from the strings at all times. Because of this, the guitar must be adequately braced to endure this stress. To install this bracing, I traced the bracing placements from the given blueprints onto the soundboard. Most of the braces were pre-shaped, but the main x-braces on the soundboard had to be carved by hand.
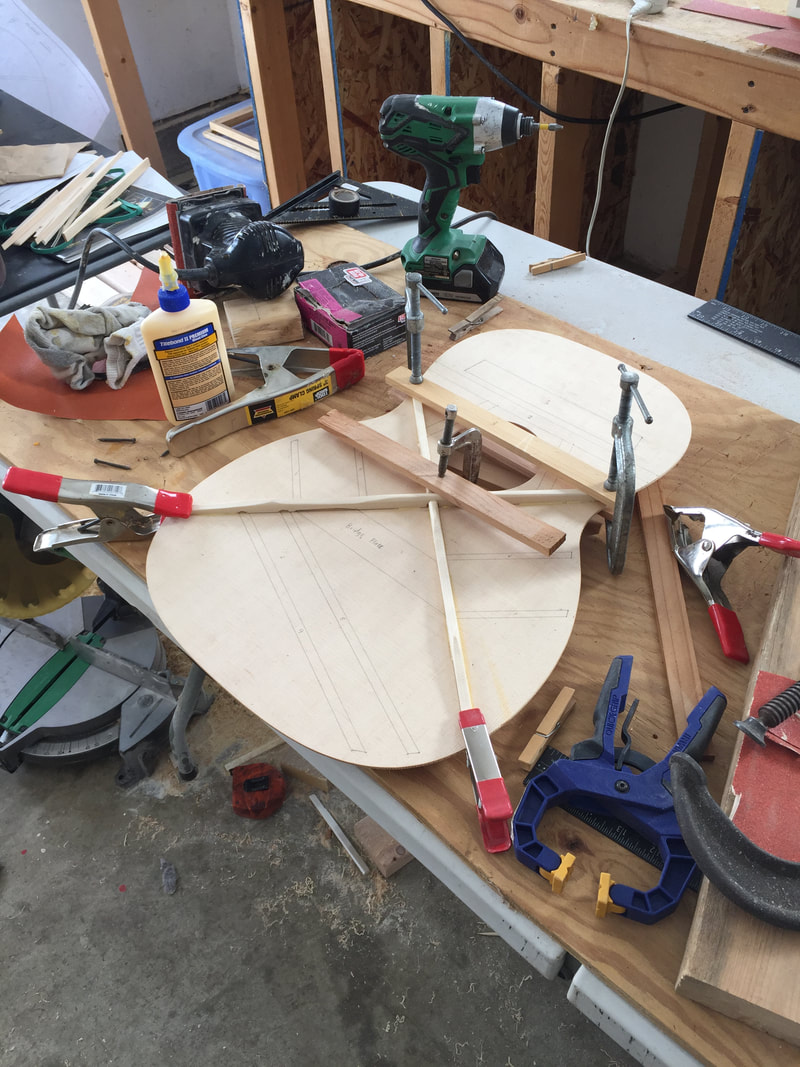
Installing the X-Bracing
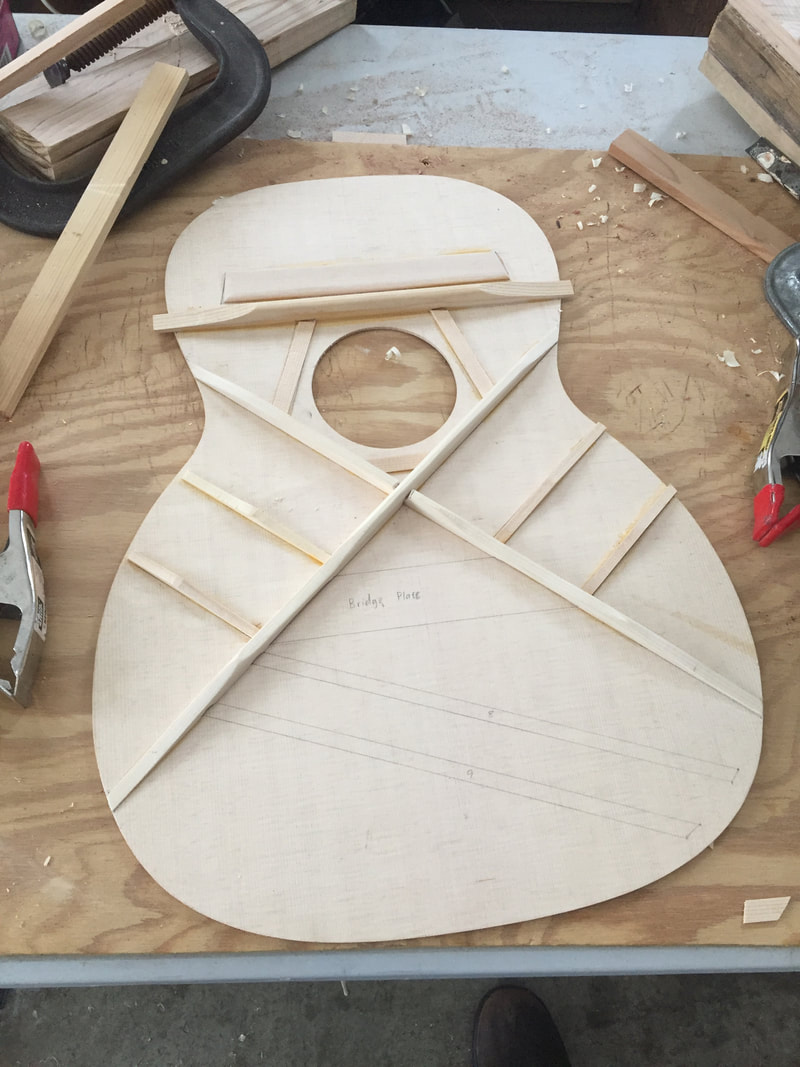
Almost done
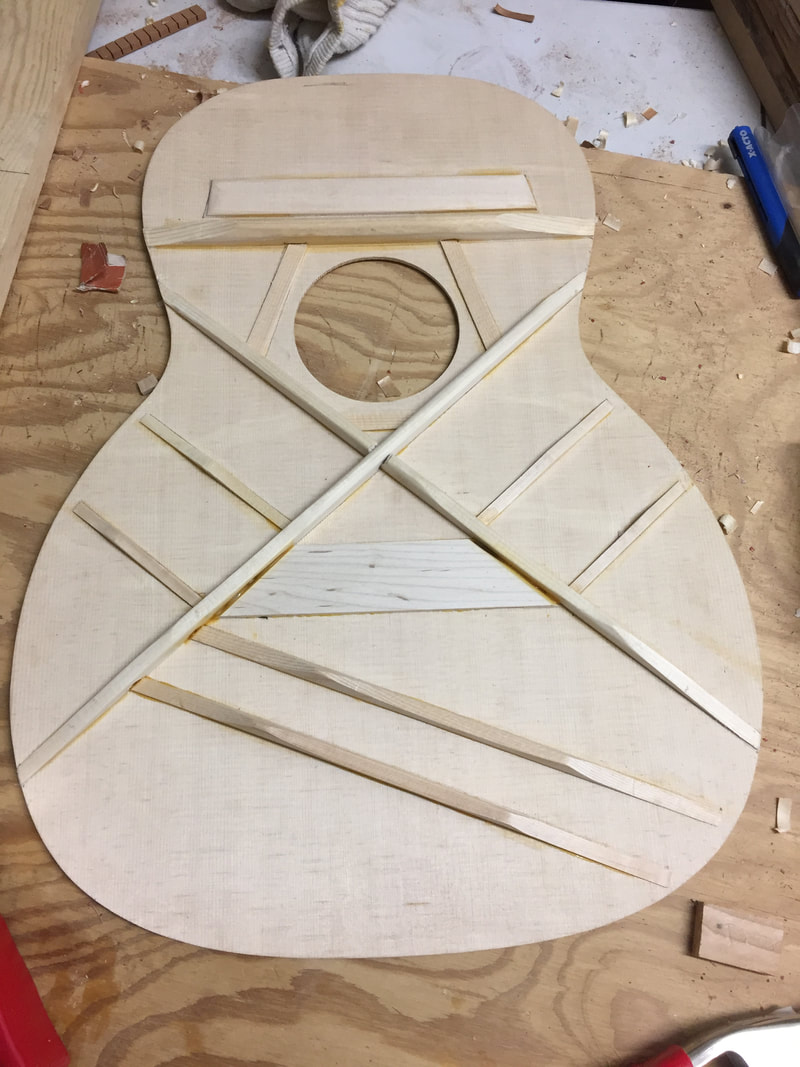
Completed bracing
Back Bracing
The back of the guitar required a similar set of bracing. The bracing consisted of four main braces with flat strips running down the center of the back. A curved and notched gluing caul had to be made to keep the back braces in position and to facilitate the gentle curve of the back.
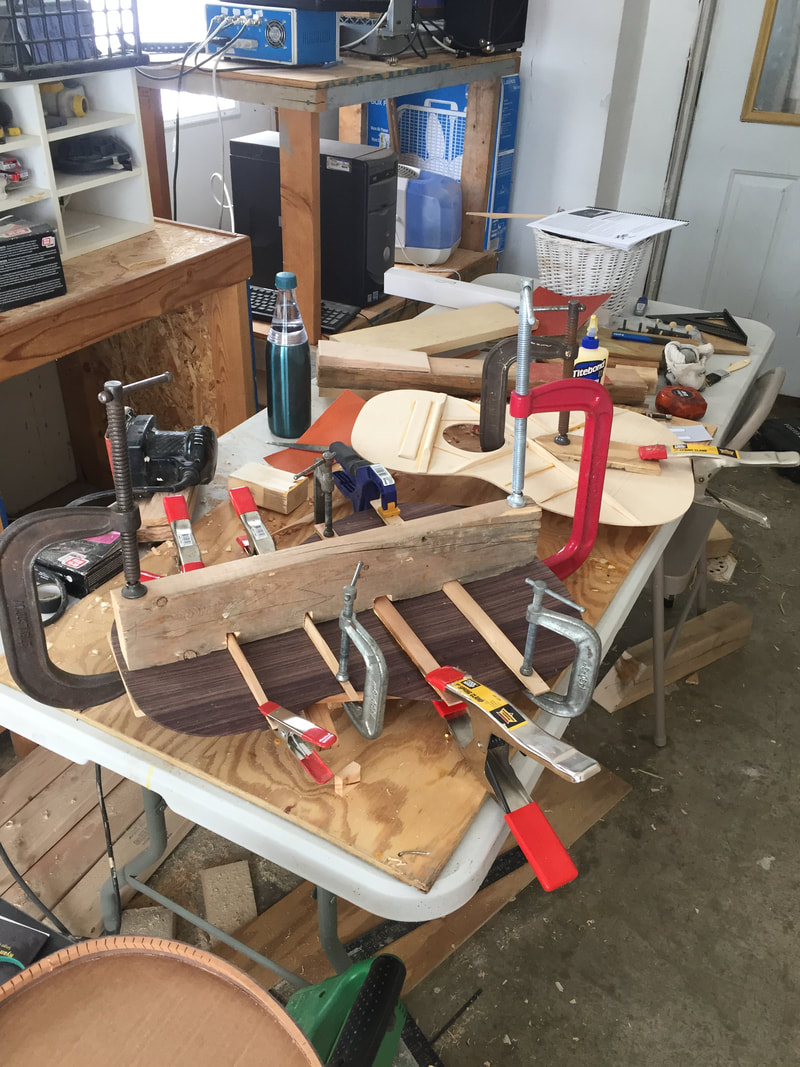
Gluing the back bracing
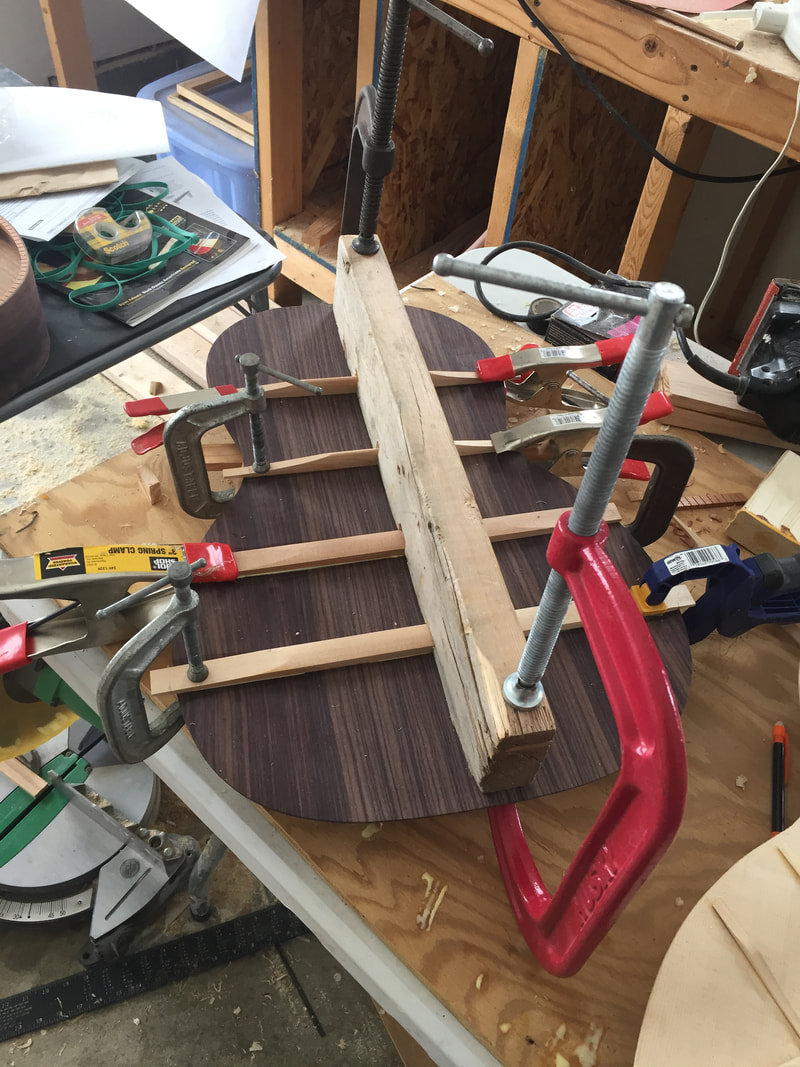
Gluing the center strips
Putting the Body Together
After the bracing was completed, it was now time to construct the body. Though this was exciting, it was also terrifying, as any mistake could negate all of the work I had done so far. However, with some prayer and rubber bands, this process went quite well.
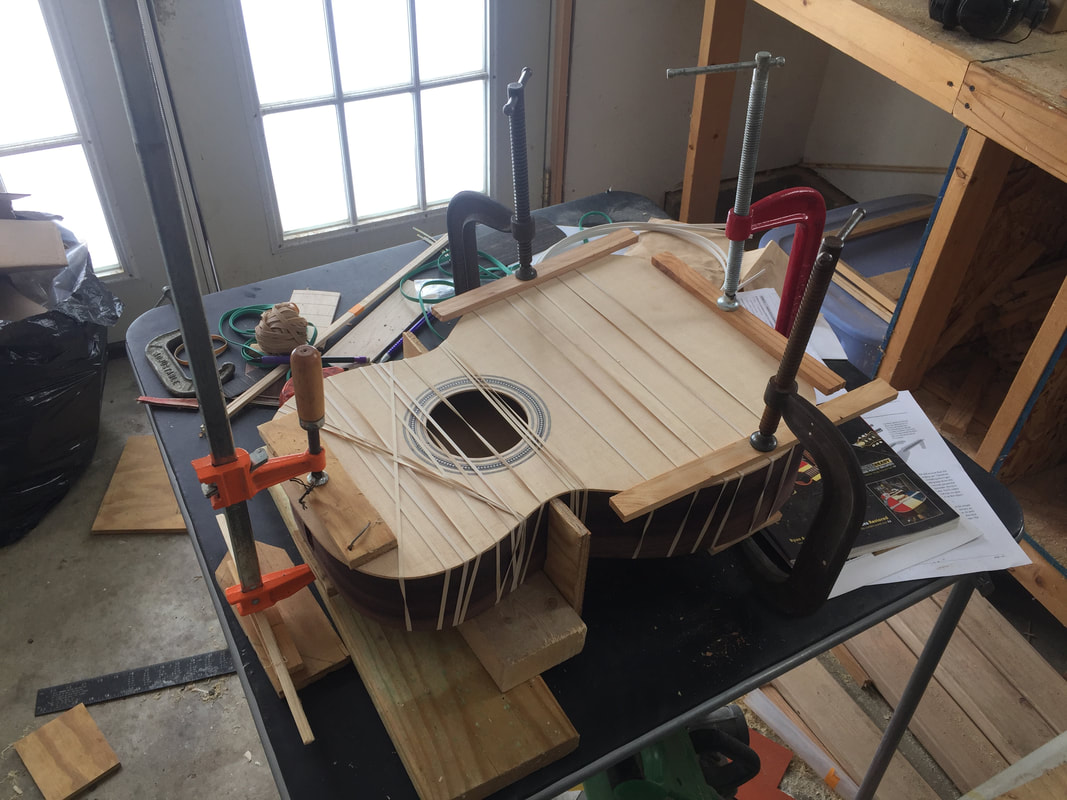
Gluing the top
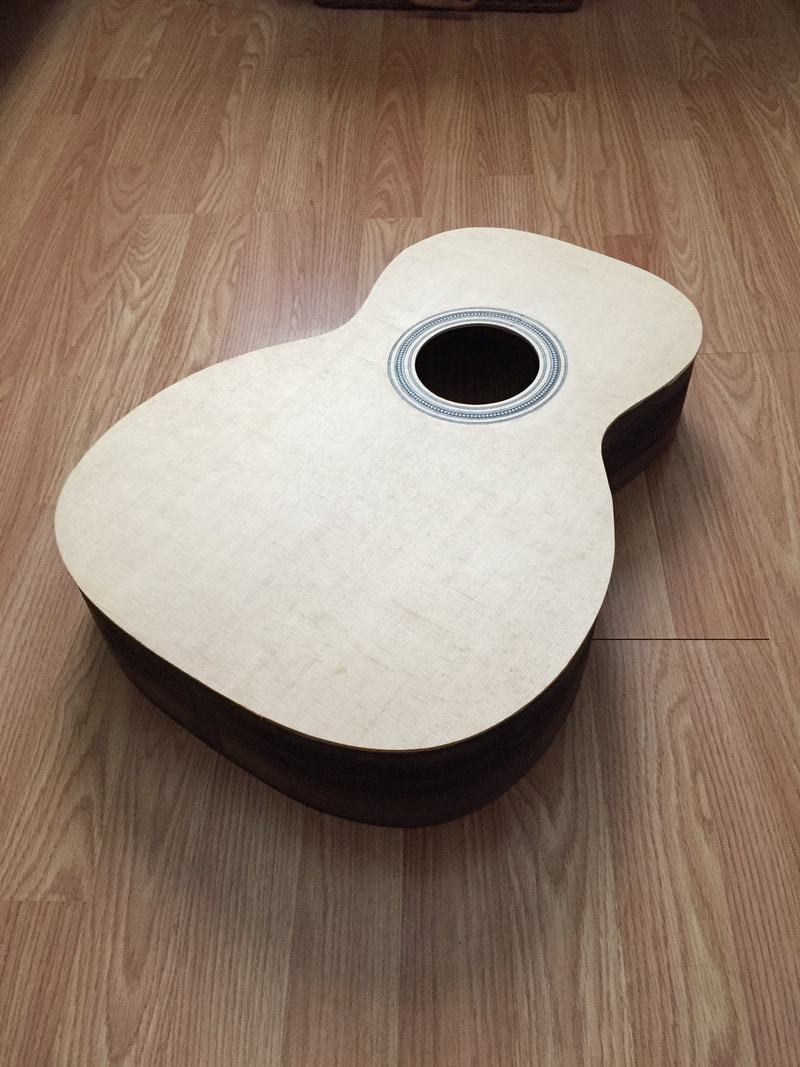
Completed top
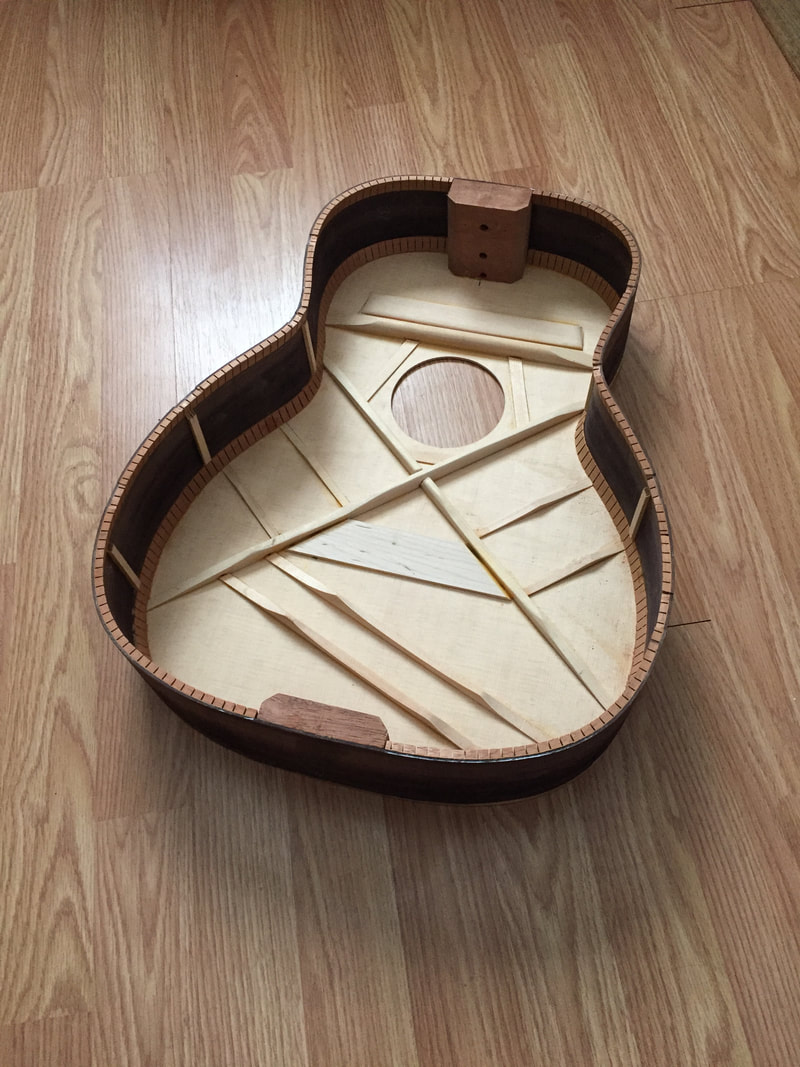
Body interior
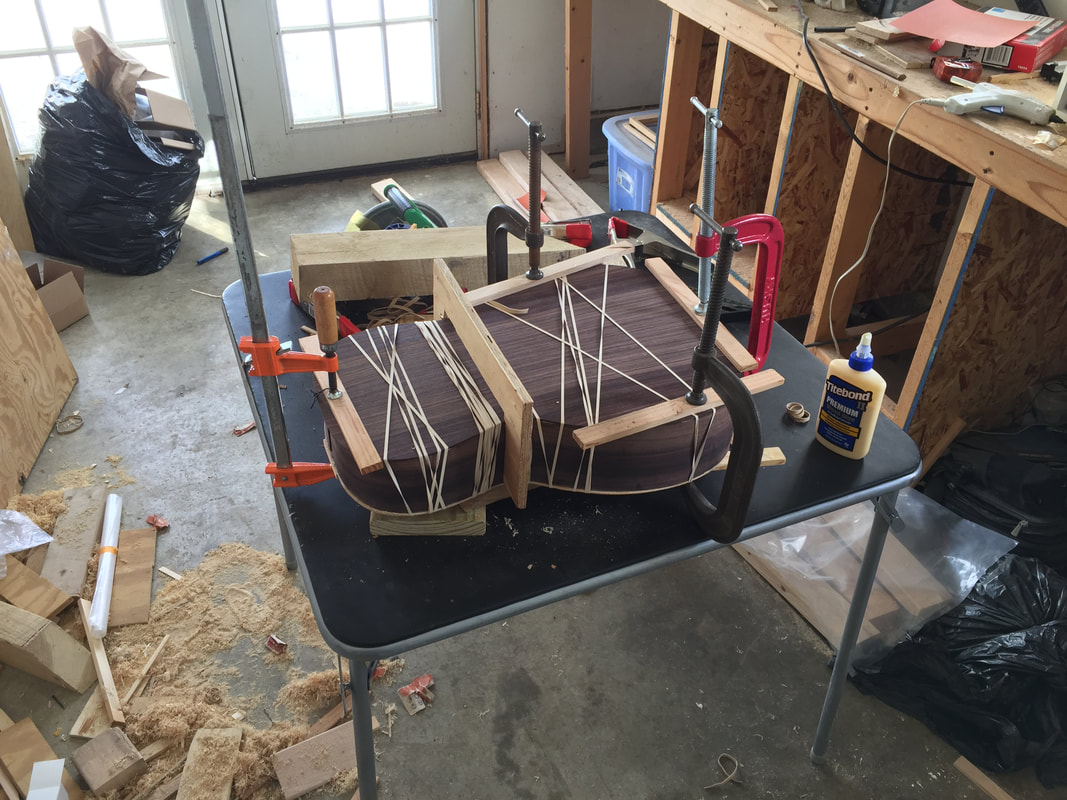
Gluing the back
